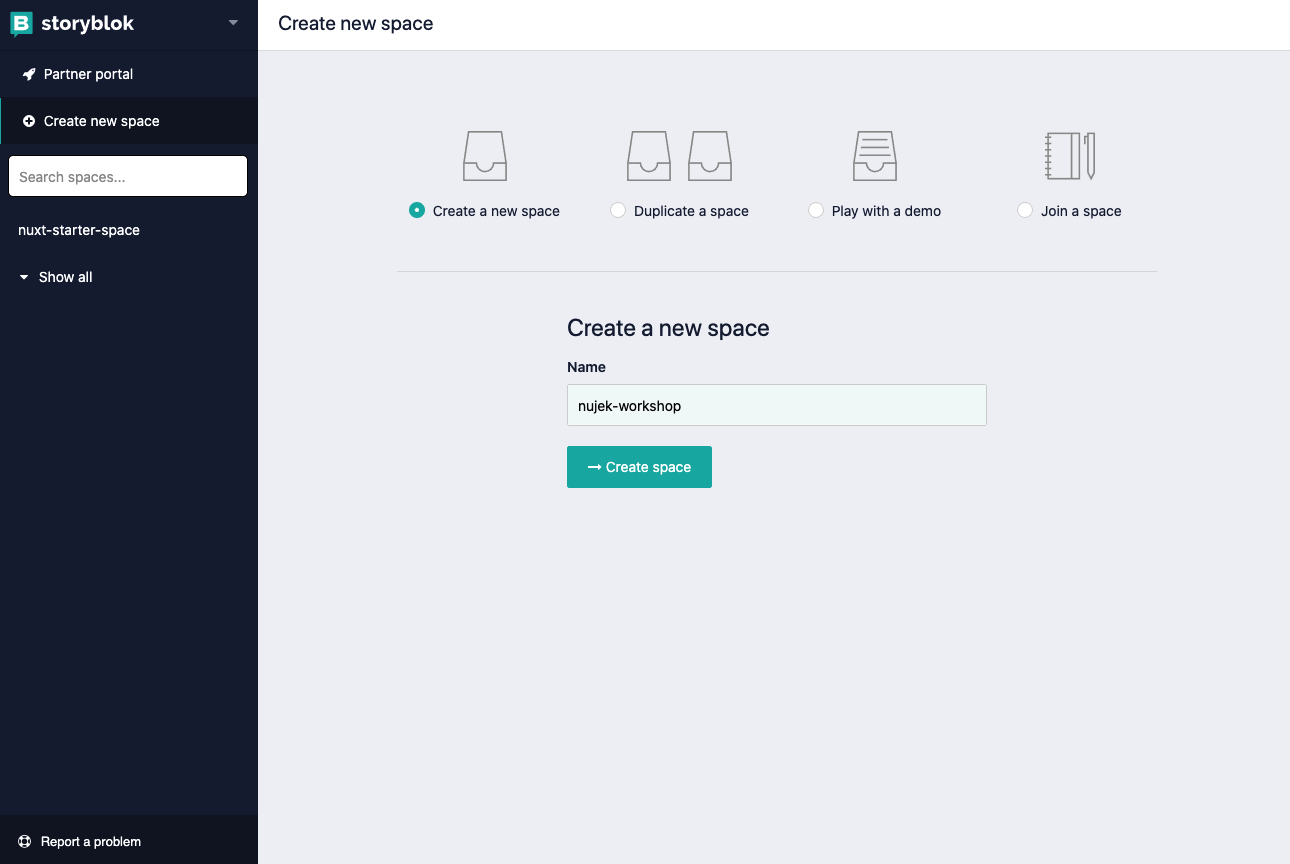
Setup Storyblok
Create a new space in Storyblok.
Settings
Under Settings add your default server to http://localhost:3000/ as the default environment.

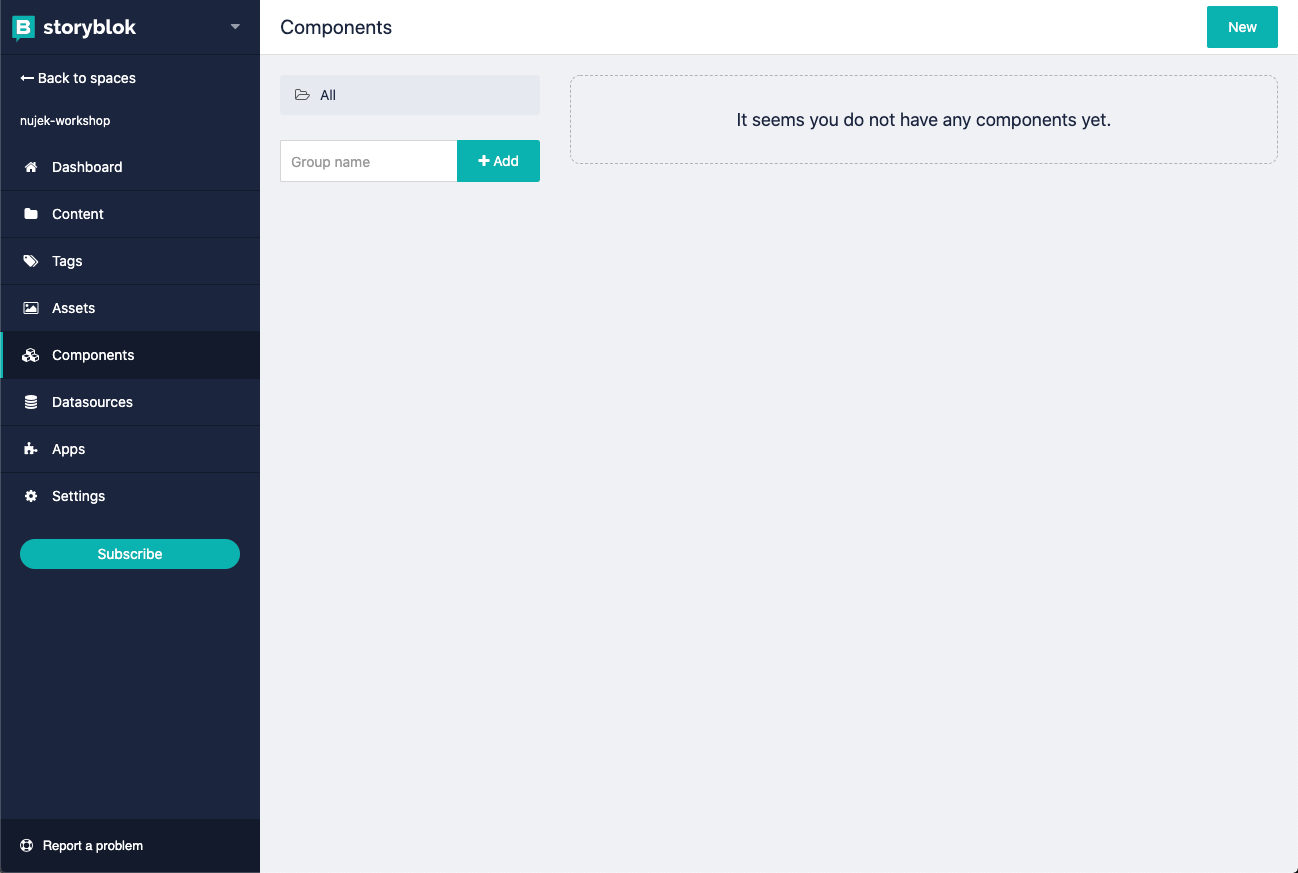
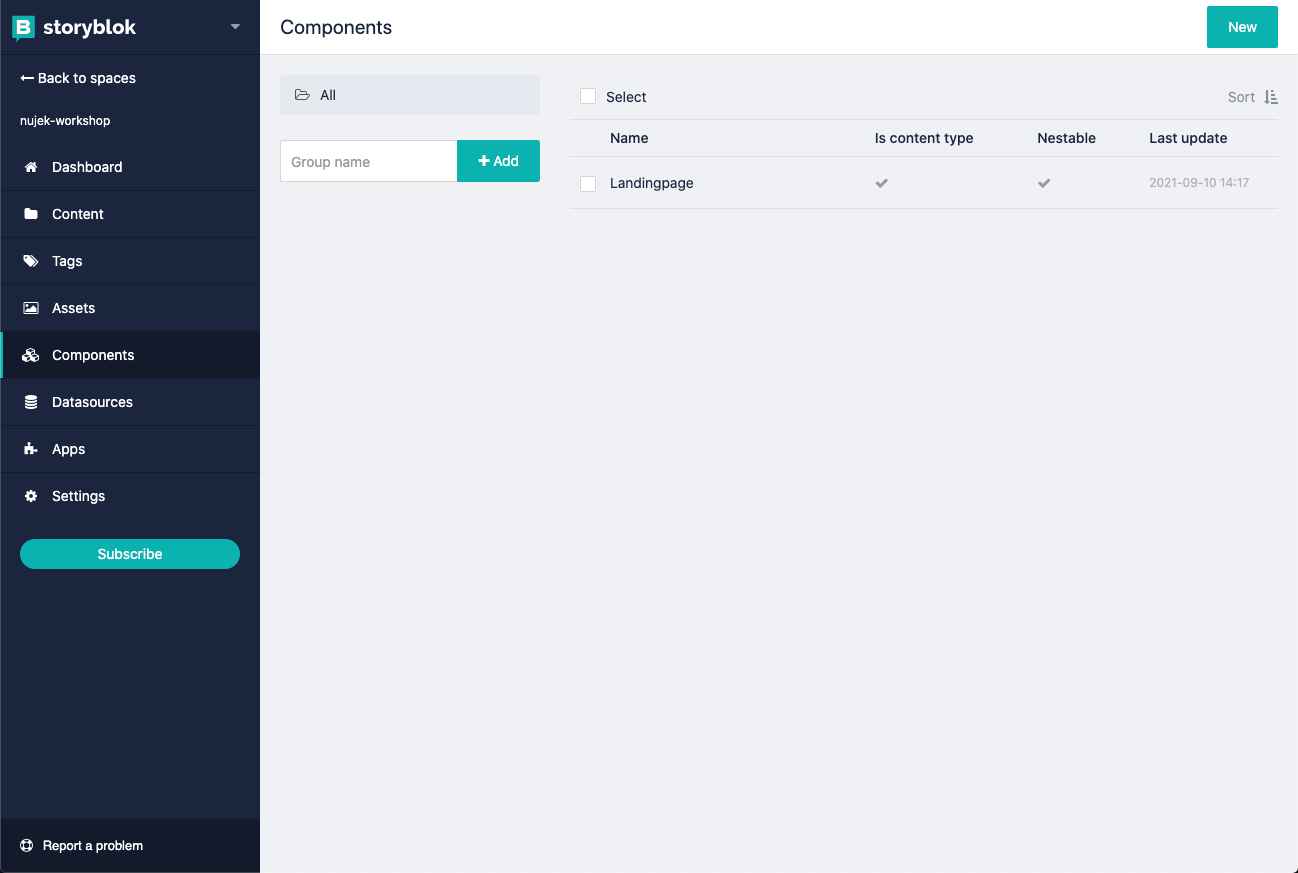
Build components
- We start with a cleanup: Remove all default components.
-
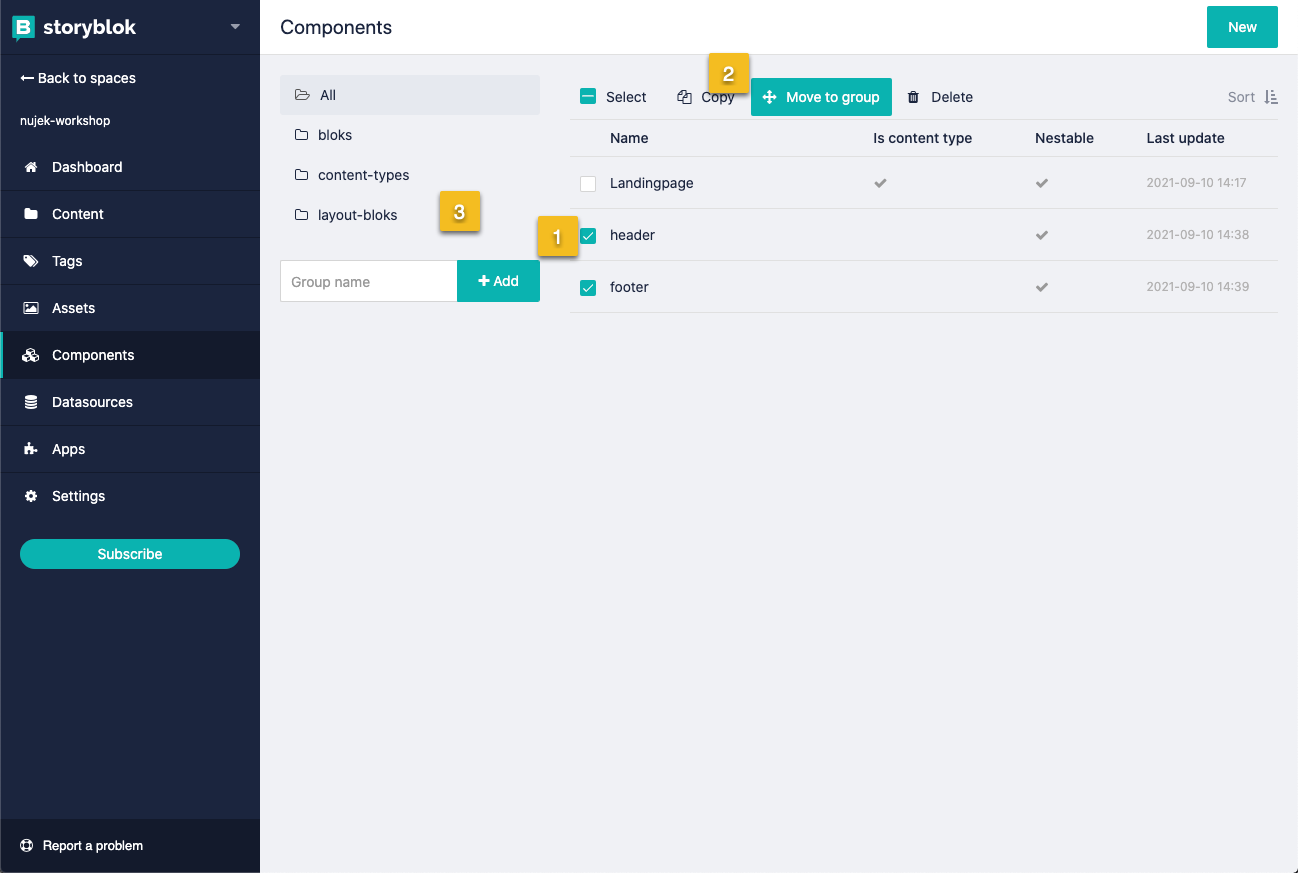
Then add 3 component groups.
-
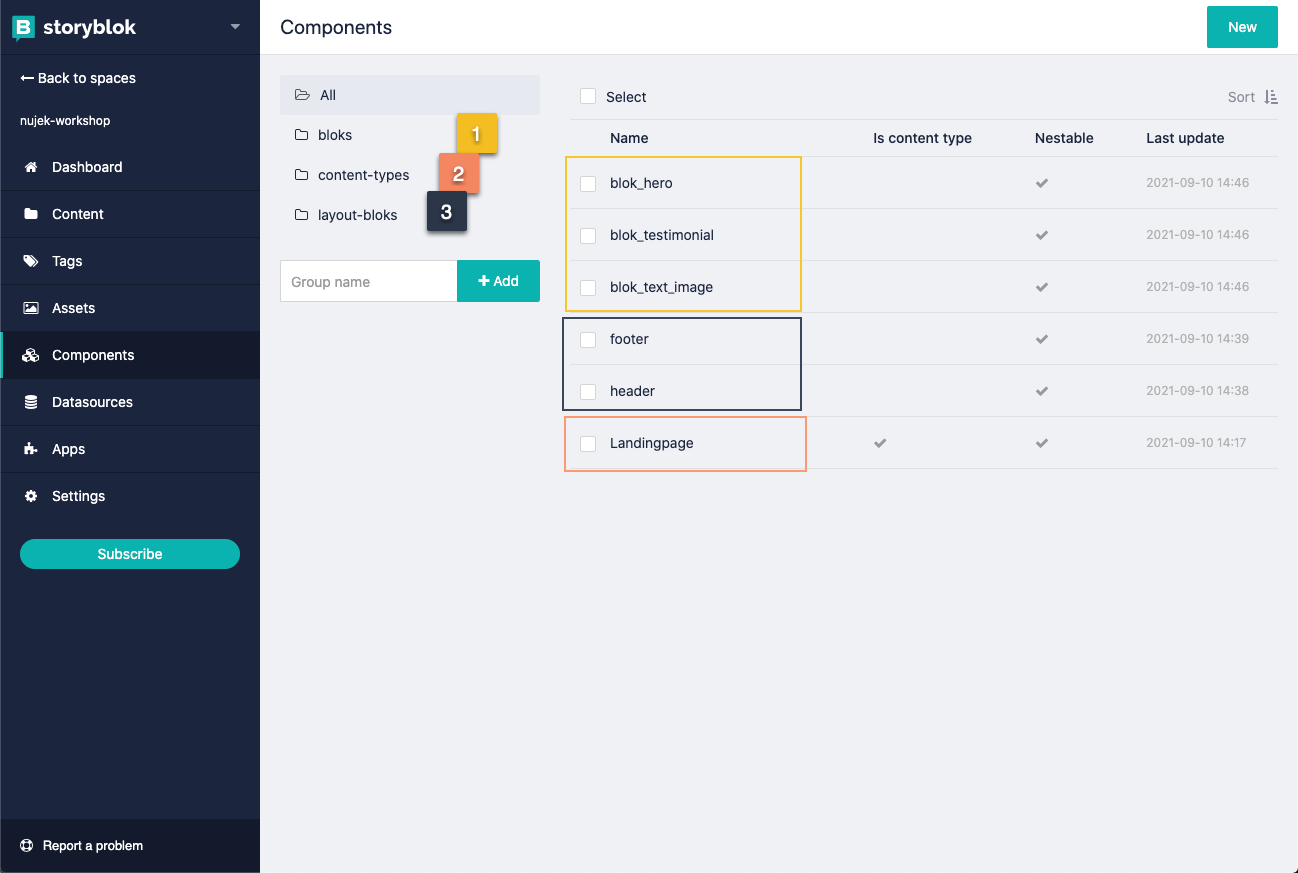
bloks (for component bloks)
-
layout-bloks
-
content-types
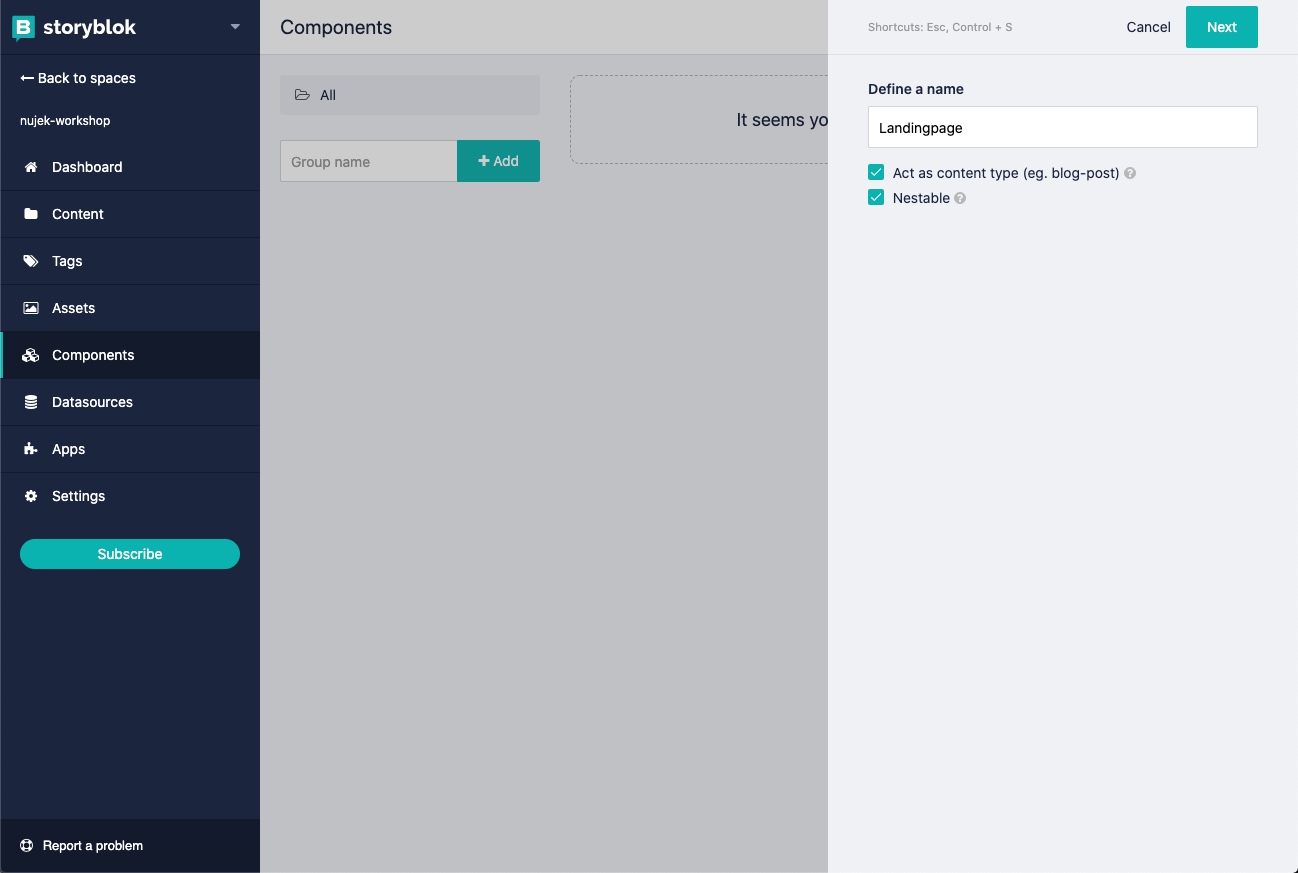
Create dynamic content types
-
Create new component (right-upper corner "New") called Landingpage and tick Act as content type.
-
Click Next.
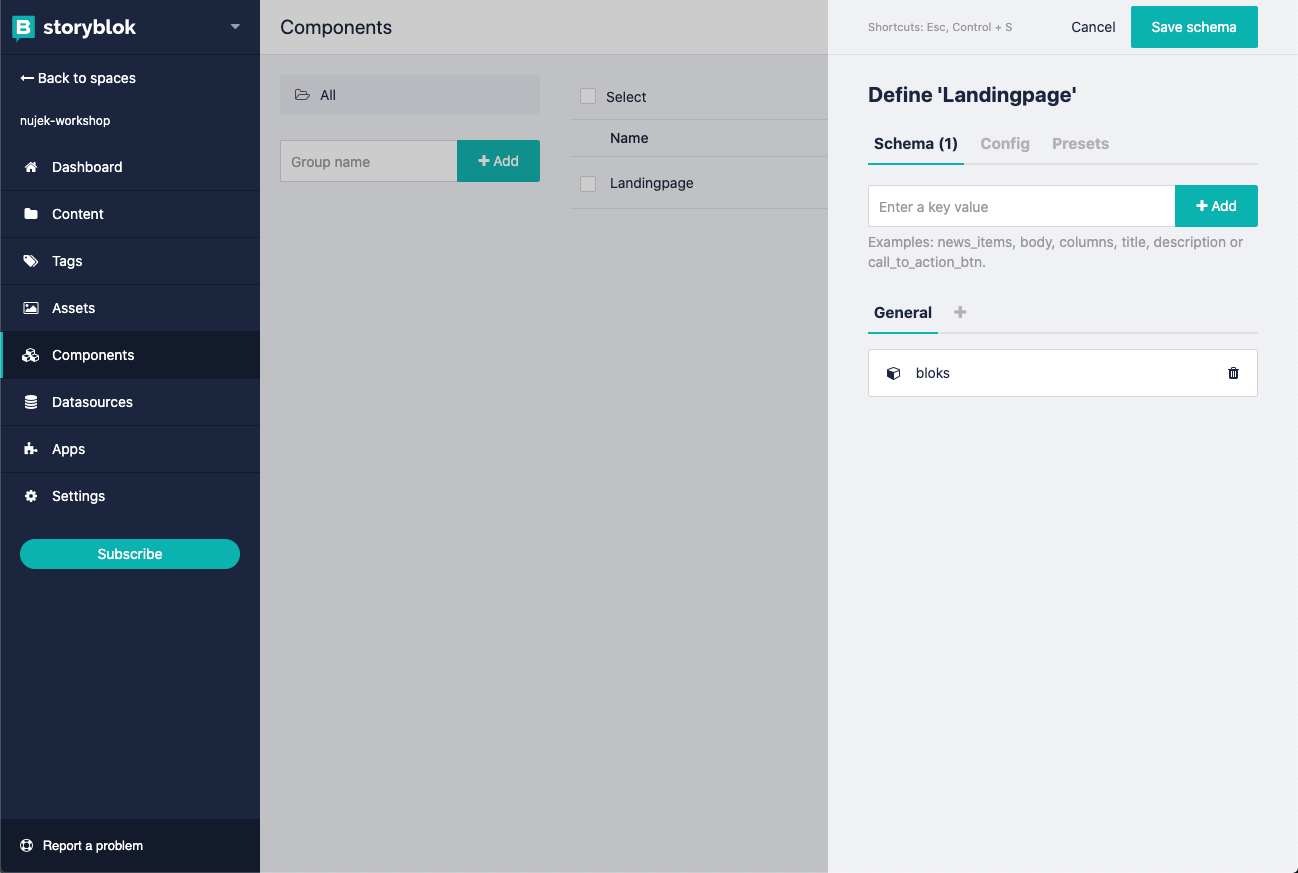
- Now you need to define the schema. Lets create 1 field called
bloks. - This will create a TextField
bloks. Lets click on it and change it to typeBlocks. - Click Save Schema
Create bloks
Our layout consists of two layout components (Header, Footer) and 3 component bloks (Hero, TextImage and Testimonial).
Create each component under Components in Storyblok.
Layout components
Lets start with the header component.
- Click New
- The name should be: header (Don't tick
Act as content type!) - Click Next & click Save Schema. (We will add fields later)
Do the same for the footer layout component.
To stay organized we {1} check header and footer component and move {2/3} it to the layout-bloks folder.
 ### Blok components
We create Blok components very similar to layout components but the naming pattern is very important here.
- Click New
- Name the component
blok_hero. - Click Next & click Save Schema.
Do the same for the rest of the blok components (blok_text_image, blok_testimonial) too.
Lets move these components to the bloks folder to stay organized.
Adding content
...will be continued
Creating the navigation
...will be continued